 3D Printer FYI
A threaded insert looks like a component you should be able to specify once and forget. Then the hole prints undersized, the brass sits crooked, or displaced plastic gets in the screw’s way. A five-minute assembly turns into a lesson about which dimensions your drawing actually controlled.
CNC Kitchen’s useful contribution here is a testable workflow. Its insert guidance links the exact insert dimensions and hole-size specimens, and recommends testing with the material and print settings planned for the final part. The source also describes how undersized holes can displace plastic and obstruct the screw. These are instructions for the supplier’s insert system; an M3 thread designation does not make other inserts geometrically identical.
Make the uncertainty cheap
The coupon asks a smaller question than the finished assembly: which drawn hole produces the intended installation under this process? Retain the insert SKU, supplier drawing and profile revision so the result has somewhere to belong.
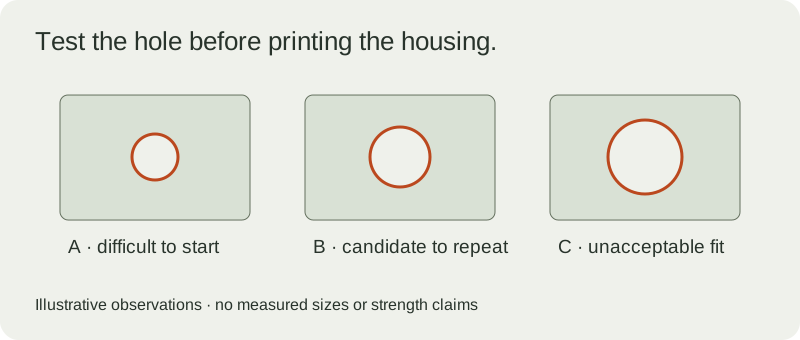
Consider an illustrative record, not a CNC Kitchen measurement or our own test. Coupon A is difficult to start. B installs flush with no visible obstruction. C leaves an unacceptable fit. Those observations make B a candidate for another trial. They do not establish its pull-out strength or permission to use it in a load-bearing joint.
The distinction matters because the convenient result is usually also the result we wanted. Repeating it is less entertaining than celebrating it, but more useful than printing thirty housings around a one-off success.
What to carry into your own workshop
Open the Fit and Fastener Workbench and select insert mode. Record the exact insert, supplier-specified hole, material, orientation and profile. Add each coupon, including the unsuccessful ones. Where you take a measurement, identify the instrument and method.
Use the comparison plot to spot differences between drawn and measured diameters. Use the outcome notes for installation observations that the diameter alone cannot describe. Select a candidate only after deciding which behavior your assembly needs.
CNC Kitchen’s specimen guidance explicitly anticipates differences between print orientations. That is a reason to test the orientation of the real feature, not to turn one coupon’s correction into a global scale factor. Source
A useful result has boundaries
Keep three statements separate:
- Supplier specification: the drawing and instructions for that exact component.
- Your observation: what happened on the recorded coupon and process.
- Your decision: what to try in the next revision.
The workbench exports those distinctions with the study. No table of hole diameters can supply an unmeasured joint-strength rating. If strength is the requirement, define and perform an appropriate test of the actual joint.
This is the part of the project worth borrowing: turn the unknown into a cheap specimen, keep the evidence, and give the next revision a reason to exist.
Continue: Calibration: keep a baseline worth returning to · CNC Kitchen creator profile.
Sources
- Insert guidance and linked test pieces — CNC Kitchen — reviewed 2026-09-15.